Introduction
If you enjoy light, flaky fish paired with creamy, savory toppings, this artichoke and parmesan tilapia recipe will be your next favorite dish. Tilapia cooks quickly, absorbs flavors beautifully, and when combined with tangy artichokes and nutty parmesan, it turns into a satisfying meal you can make any night of the week. This guide will walk you through the steps, ingredient details, and tips to perfect this dish at home while keeping it wholesome and delicious.
Why Choose Tilapia for This Dish
A delicate white fish, tilapia is the ideal foundation for striking garnishes. Its delicate flavour lets the spices, artichokes, and parmesan cheese shine. It is also widely accessible and reasonably priced, which makes it a popular choice for big occasions as well as weeknight dinners.
Ingredients You Will Need
Whenever feasible, use fresh ingredients to ensure the success of this meal. The following is a list of requirements:
- Fillets of tilapia, either fresh or thoroughly thawed
- Marinated artichoke hearts: They provide depth and zest.
- Grated fresh parmesan cheese Salty and nutty taste
- Greek yoghurt or mayonnaise – creamy foundation for the garnish
- Powdered garlic: a mild spice
- The acidity of lemon juice is bright and fresh.
- For crunch, use breadcrumbs.
- Coat the baking dish with olive oil and pour it over.
- Season with salt and pepper to taste.
Preparing the Fish Before Cooking
To help the toppings stick, blot dry the tilapia fillets before seasoning. Sprinkle a little salt, pepper, and lemon juice on each side. For a better texture, defrost the frozen tilapia well and drain any extra water.
The Role of Artichokes in the Flavor Profile
Artichokes give the meal a hint of earthiness and sharpness. They produce a thick, creamy coating that contrasts well with the light fish when paired with parmesan and mayonnaise or yoghurt. Because their seasoning improves the entire flavour, marinated artichokes perform best.
Step-by-Step Cooking Guide
Although making this dish at home is simple, paying close attention to the little things guarantees a restaurant-caliber result. For optimal outcomes, adhere to these enhanced instructions.
1. Select and Prepare Your Tilapia Fillets
If at all feasible, begin with fresh tilapia fillets, or thaw frozen ones in the fridge for the entire night. In order to preserve texture and safety, do not defrost at room temperature. When ready, use a paper towel to gently pat each fillet dry. Eliminating extra moisture is crucial since it improves the adhesion of toppings and seasonings.
Pro Tip: Gently run your fingers over the fillets’ surface to feel for any little bones. If necessary, remove them using fish tweezers.
2. Season the Fish Base
On a sanitised cutting board, arrange the fillets. Season both sides with a thin, equal coating of salt and pepper. For a pop of flavour, drizzle a little fresh lemon juice on top. To allow the seasoning to somewhat permeate, let the fillets sit for five minutes.
3. Prepare the Baking Dish
Select a baking dish that can accommodate the fillets without crowding in a single layer. Apply a small layer of non-stick cooking spray or olive oil on the bottom. This gives a touch of richness and keeps things from sticking.
4. Chop and Drain the Artichokes
To avoid the topping becoming too thin, thoroughly drain the marinated artichoke hearts. To ensure they cover the fish evenly, chop them into tiny, bite-sized pieces. The chunks will mix with the parmesan and other ingredients more evenly if they are smaller.
5. Create the Topping Mixture
In a medium mixing bowl, combine:
- Hearts of chopped artichokes
- Grated parmesan cheese fresh
- Greek yoghurt or mayonnaise, depending on your preference
- For a subtle savoury kick, add some garlic powder.
- A tiny pinch of bread crumbs to add texture
Stir everything together until the mixture is thick and unified. Having a spreadable, non-dripping mixture is the aim.
6. Arrange the Tilapia Fillets
Put each fillet into the baking dish that has been prepared. To enable heat circulation when cooking, leave a small gap between them.
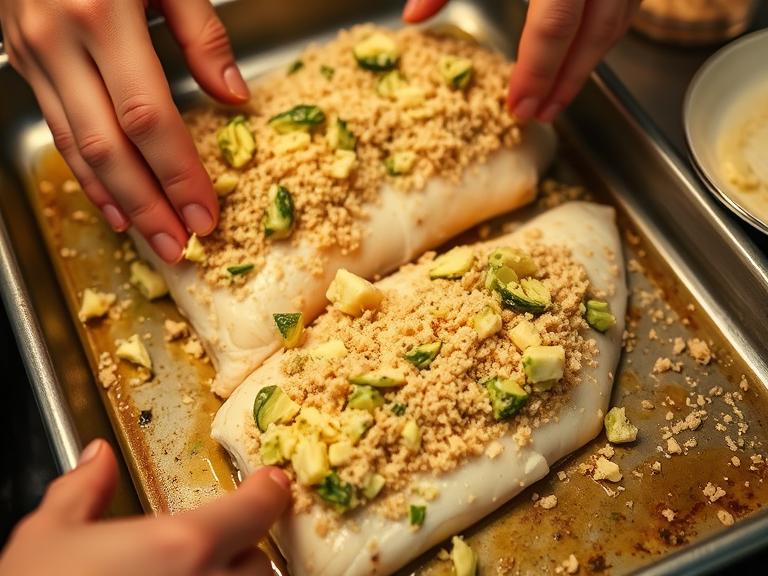
7. Spread the Topping Evenly
Spread the artichoke-parmesan mixture over each fillet with a spoon or spatula. To ensure that the flavours are balanced in every mouthful, apply an even layer from edge to edge. To make sure the topping sticks well, lightly press it down.
8. Optional Crunch Upgrade
Over the topping, scatter a second thin layer of breadcrumbs for a golden, crispy finish. To help the breadcrumbs brown wonderfully in the oven, lightly sprinkle them with olive oil.
9. Bake the Tilapia
Before you put the dish in the oven, preheat it to 375°F (190°C). Depending on how thick your fillets are, bake them for 15 to 20 minutes. The fish should look opaque throughout and flake readily with a fork. The edges of the topping should be lightly toasted.
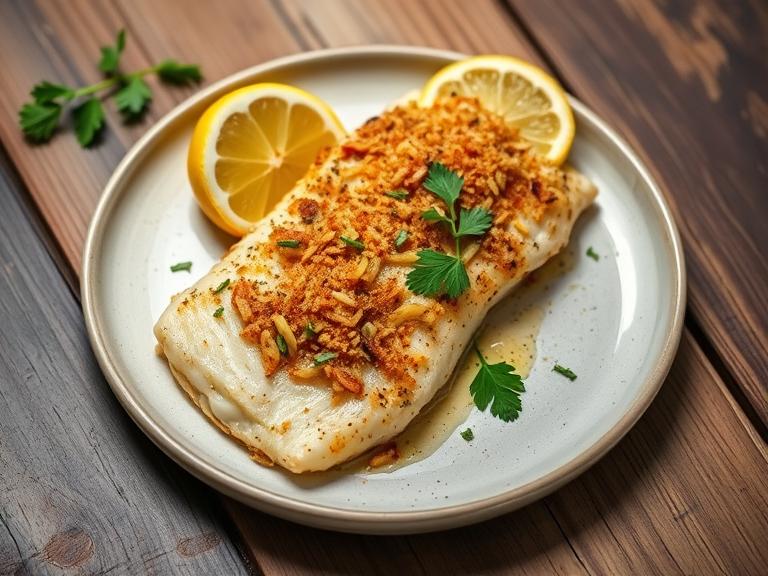
10. Final Touch and Presentation
Before serving, take the dish out of the oven and allow it to rest for two to three minutes. This little period of rest keeps the fish wet by allowing the juices to settle. For a splash of colour and freshness, garnish with a lemon wedge or some fresh parsley.
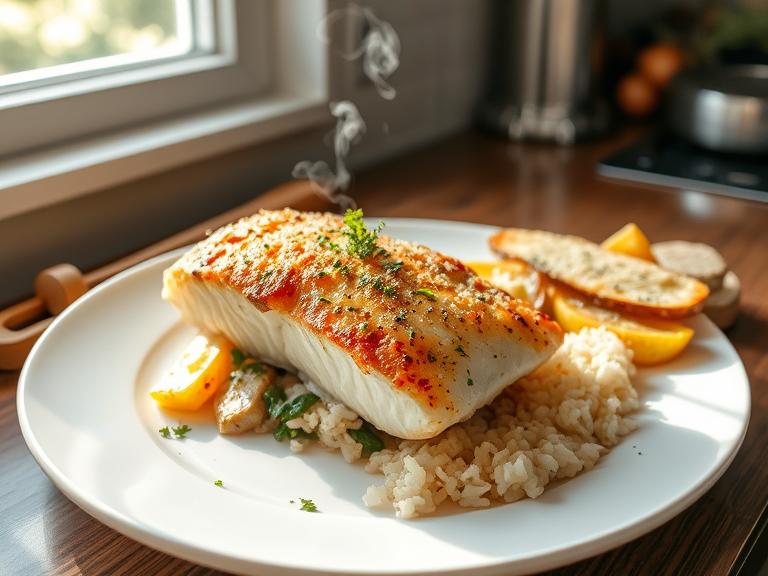
11. Serve and Enjoy
Serve the baked tilapia with crisp salad, garlic mashed potatoes, or roasted veggies. This combination creates a filling, well-balanced meal that’s ideal for entertaining friends or having family dinners.
A Simple Artichoke and Parmesan Tilapia Recipe for Beginners
A straightforward tilapia recipe with artichokes and parmesan is perfect for beginners. This variation utilises less seasonings and omits breadcrumbs, but it still produces a delicate and flavourful outcome with only a few ingredients and little preparation. It’s ideal for a quick supper without compromising flavour.
Perfecting the Texture and Taste
- Avoid overcooking; if tilapia is baked for too long, it may turn dry.
- Depending on how salty your parmesan is, adjust the salt to balance the flavours.
- Make use of fresh parmesan because pre-grated types frequently contain texture-altering anti-caking chemicals.
Baked Artichoke and Parmesan Tilapia Recipe for a Crispy Finish
The baked artichoke and parmesan tilapia recipe is the ideal choice if you enjoy a crunchy top. A golden crust that accentuates the delicate fish underneath is produced by adding more breadcrumbs and a small amount of olive oil before baking. For a full supper, serve with fresh salad or roasted veggies.
Side Dishes That Pair Well
- Garlic butter asparagus
- Herbed rice pilaf
- Caesar salad
- Roasted baby potatoes
These sides add vibrant, fresh flavours to counterbalance the rich, creamy topping.
Artichoke and Parmesan Tilapia Recipe Easy Version for Busy Nights
This easy-style tilapia meal with artichokes and parmesan employs common cupboard ingredients and omits additional steps. To expedite cooking without sacrificing flavour, you can broil for 8 to 10 minutes instead of baking. When time is limited on weeknights, this variation works well.
Nutritional Benefits of This Dish
- Rich in tilapia protein
- Antioxidants abundant in artichokes
- Increased calcium from parmesan cheese
- Olive oil’s healthy fats
Storing and Reheating Tips
Any leftovers can be kept in the fridge for up to two days in an airtight container. To preserve texture, reheat in the oven for 8 to 10 minutes at 350°F (175°C). Steer clear of the microwave as it may cause the fish to become rubbery.
Variations to Try
- For a different texture, try halibut or cod instead of tilapia.
- For additional greens, include spinach in the garnish.
- For added crunch, use panko breadcrumbs.
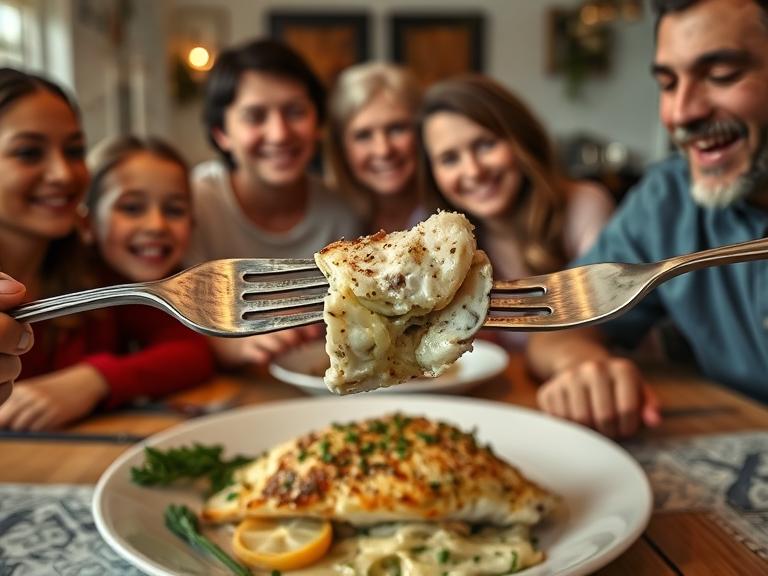
Serving Ideas for Special Occasions
This recipe is perfect for both celebratory get-togethers and informal dinners. For a sophisticated presentation, serve with a colourful vegetable medley, crusty bread, and a cold glass of white wine.
Conclusion
The recipe for artichoke and parmesan tilapia is a tasty and simple dish that mixes the strong flavours of artichokes and parmesan with the delicate texture of tilapia. This recipe can be modified to suit your time and taste preferences, whether you want a quick broiled approach, a basic preparation, or a crispy baked version. For those times when you want something unique and simple to make, keep it in your recipe library.